IDE to SATA adapter


Among all the skepticism, ultimately ordered an item from eBay. Even the component ordered was not having +ve reviews all over eBay.
The seller was quick to respond, ordered an item on 22nd sep and it reached the destination on 25th sep
It was for low-end PC (with obviously limited resources)
D815EA
Max mem - 512
2 IDE ports


dimension -- 5x5cm (app).
Is a delicate piece of hardware
First time when the adapter was used, red led on it was lit all the time and the SATA HDD was not recognized by the BIOS but it was buzzing(could feel it by touch it).
Upon contacting the dealer (he was helpful) assured me that if it doesn't work he will gladly replace it with new one before that why not try taking out the insert and adapter once again, upon trying the adapter worked :). He also said that these are made in China so out of 20 pieces 1 might not work and for regular use make use of the regular IDE drive and for occasional use like taking backups only make use of the adapter also once plugged correctly try stick with it than moving it every now and then.

It work like charm - made use of SATA HDD and SATA DVD writer. At the time of data transfer the led lights up.
There are 2 SATA ports on the adapter which replicates the master and slave mode similar to IDE/ATA
There is a power connector which needs  to be connected to the SMPS power supply. It also comes with a SATA and power cable that connects the board to the power supply. The power supply to the HDD or DVD needs to be provided from the SMPS.

**The ebay store is run by Anup under the name cheap.and.best
 
Tried out softphones  - linphone, microsip, ekiga

There are various open source soft phones available which can be used to register with Asterisk PBX(freePBX).
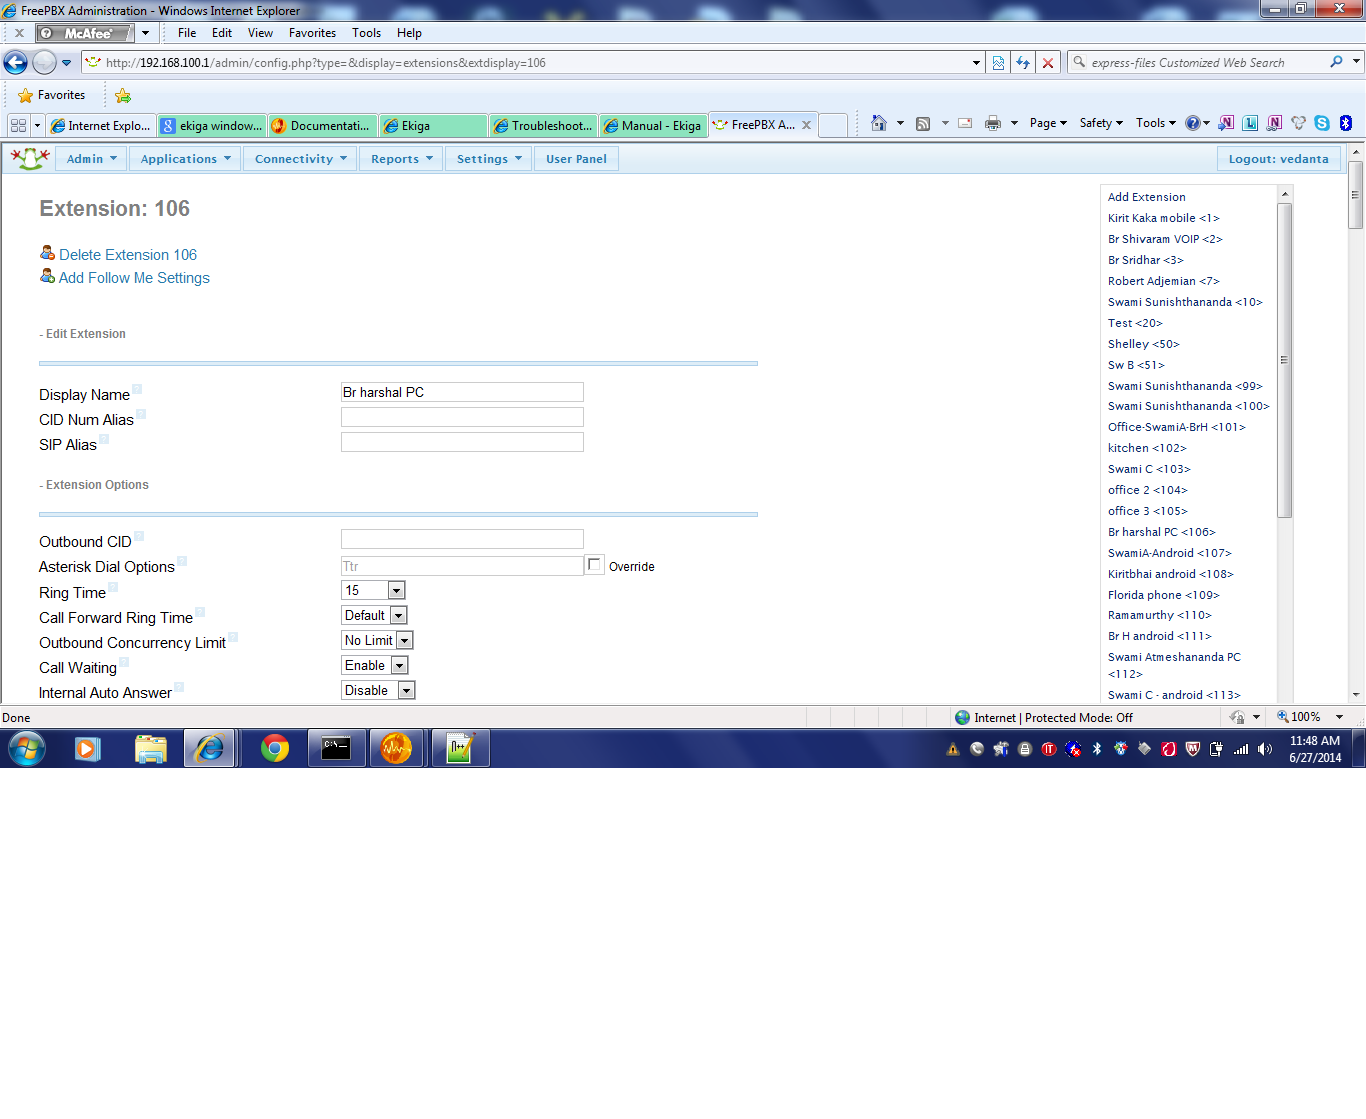
In the current scenario the already existing and unused extension(106) was used for SIP client.
images of the freepbx extention

In the case of ekiga, remove the default account created by ekiga like echo test etc

Initially
used 106 for sip client <sip:106@192.168.100.28:5060 > where 192.168.100.28 is the pc IP addr and the 5060 is the port to communicate
but wasn't able to establish the connection<investigate - wireshark>
Eth was given static IP
which gave Ekiga loop detected ERROR also the microsip was giving timeout msg
so changed the eth IP to dynamic and the error was gone
Make sure that only one SIP client is active at a time ****

Ekiga makes use of SIP or H.323 compatible hardware and software. It supports many audio and video codecs and all modern voip features for both sip and H 323. Ekiga was formerly known as gnomemeeting.

Error:- Ekiga loop detected
http://blog.sviluppoweb.eu/2013/07/19/ekiga-registration-error-loop-detected/
for this the static ip of the machine was changed to the dynamic ip
screenshots of the ekiga and settings


screenshots of linphone


Screenshots of MicroSIP


GPS traces segregated

In and around Trivandrum, Kerela, India the traces are pretty evident on the My geolocation(right panel)


View GNUmen in a larger map

When it comes to the traces which are not continuous like


View GNUmen in a larger map
its better to render it separately here. It will be better if every trace after uploading to google map is embedded in this place(It won't be an extensive one as I don't trace that much )

This trace is in and around the place we stay right now.


View GNUmen in a larger map

Due to deleted layer in GNUmen map a new map named Librelab - landA is created with the existing traces

Replacing the digitizer of HTC wildfire

The digitizer of HTC broke 'cause of the amount of verbal stress it was put thru - thanks to PN for carrying out the stress test :).

Before
After
Digitizer: is the one that converts our actions into a digital signal that the phone understands. The data from the digitizer(glass) is transferred to the phone by the attached digitizer flex cable or digitizer flex ribbon that is included in the purchase of a replacement LCD digitizer.
THere are 3 major components
- the digitizer(front glass)
- the digitizer flex cable(should be attached to the glass)
- the LCD display unit
digitizer and the flex cable

The digitilizer was ordered from ebay.
Replacing the digitizer involves opening up of the device and putting enough of effort to get the digitizer detached from the frame 'cause it is glued to the frame. 
Various images are rendered to show how its done. 
with battery removed


The digitizer we got was not having anykind of glue on it, so the double sided tape was used to stick. (image)

Youtube videos that was/were extremely helpful.
http://www.youtube.com/watch?v=9JUEAArBUE4
http://www.youtube.com/watch?v=Y68awioGL54

The captive portal feature of Pfsense which provides the security to the network by means of username and password entered on the portal, in our case it was the captive portal vouchers which provided the access to the internet, some of the boxes were allowed to bypass the portal by means of Pass-thru MAC was not behaving in the way it was suppose to i.e by simply logging on to the network the boxes(allowed using Pass thru MAC) will be able to access the network, instead it was asking for voucher.

Reason
Even though the deployment was meant for small network which included various wifi routers acting only as access point. One of the access point namely universal WiFi Internet adapter (WNCE2001) which inturn was connected to a switch was giving out its MAC address to the pfsense router instead of each machine's MAC id connected to the switch

The screenshot of the Netgear web interface showing the ip address and the MAC id of the device

Screenshot of the PFSense where the machines namely ranjit-build and NPRIYA1 are connected via switch to netgear which inturn gets connected to the router. One can see that the MAC id is same so the Pass thru MAC is not working in PFsense


top